Blackpill as a Black Magic Probe
a tale of pills and probes

Following a personal obsession of achieving JLINK and ST-Link functionalities with open-source tools, I’ve reached to another interesting project called Black Magic Probe. Essentially, they have created an open-source JTAG and SWD adapter which can program/debug Arm Cortex MCUs. The cool thing about it is that its firmware could be used to convert many boards to a GDB debugger!
In this post, I’m gonna explain the procedure of converting the blackpill (STM32F103 variant) to a BMP so we can flash/debug Arm Cortex-M boards like the bluepill (STM32F103), TM4C123, nRF51822, etc.
redpill me on bluepill/blackpill story
ST Microelectronics has a diverse and competitive portfolio for Arm Cortex MCUs. There is this particular part number, STMF103C8T6, which somehow has become very popular. There are many breakout boards for it which come pre-soldered with stuff like USB connectors, LED, buttons, voltage regulators, etc.
One of the early version of these boards had a red PCB (aka Redpill). Then came the Bluepill with the same MCU made by different manufacturers with differing qualities and design issues. The board became very popular because of its feature/price ratio, its support for USB 2.0 full-speed (which few competitors provide at this range) and a healthy number of peripherals like UART/SPI/I2C, ADC and DMA.
The Catch™
Basically, if you buy a bluepill today, there is no guarantee that it comes with STM32F103. Maya Posch at Hackday has written an article explaining the situation. The original chip was supposed to have 64KiB of flash but almost always came with 128 KiB. Also, a particular resistor is wrong on the bluepill board causing some PCs to not recognize this USB device.
There is another STM32F103 breakout board called the Blackpill which has fixed the USB resistor issue and improved other things. Note that there is also yet another “blackpill” variant that comes with STM32F4 series which is more powerful than F1 and usually comes with USB type-C. We are not talking about that here. So in summary, here we have one bluepill and one blackpill (both STM32F103).
Black Magic Probe
The firmware could be flashed to STM32F103. We choose our Blackpill board because:
- It is black :)
- It has the correct USB resistor value (R10). Since BMP would be connected to the PC most of the time and its raison d’etre is GDB interfaced via USB to the host, we can’t tolerate any shenanigans in this front.
Looking at the project repo, we should find the platform supporting STM32F103 here. We see that for bluepill (or to be more exact STM32F103), we are supposed to use the swlink firmware. Many blogs over the net mistakenly use the stlink firmware. Another blogger also has noticed this issue. Anyway, my blackpill came without pins soldered so I chose a pair of white male headers and soldered them.
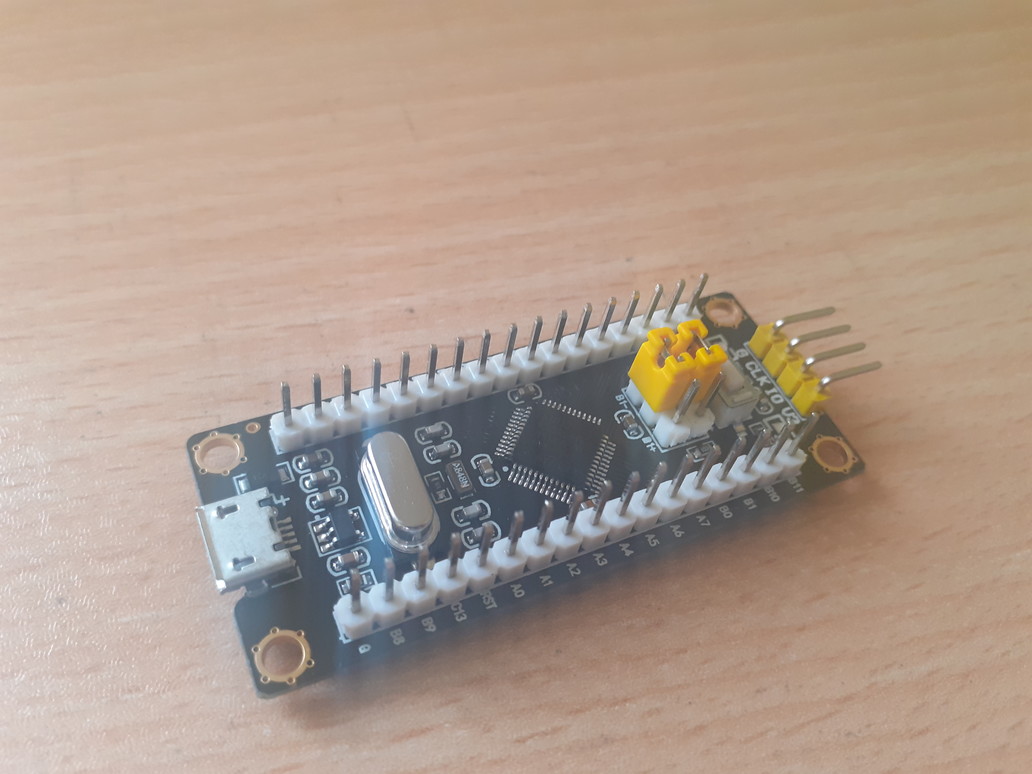
The Blackpill
The Chicken and Egg Problem
With BMP we can flash Arm devices. But how are we gonna flash the BMP firmware itself to the blackpill in the first place? Well, there are a couple of solutions but all involve an external chip. According to ST’s datasheet, we can change the jumpers and flash the binary via UART (like with FTDI cables). There are many guides for this method but here we are gonna use our zombie-FTDI method to directly flash the chip via openOCD (JTAG). Look at my other blog post for explanations on wiring.
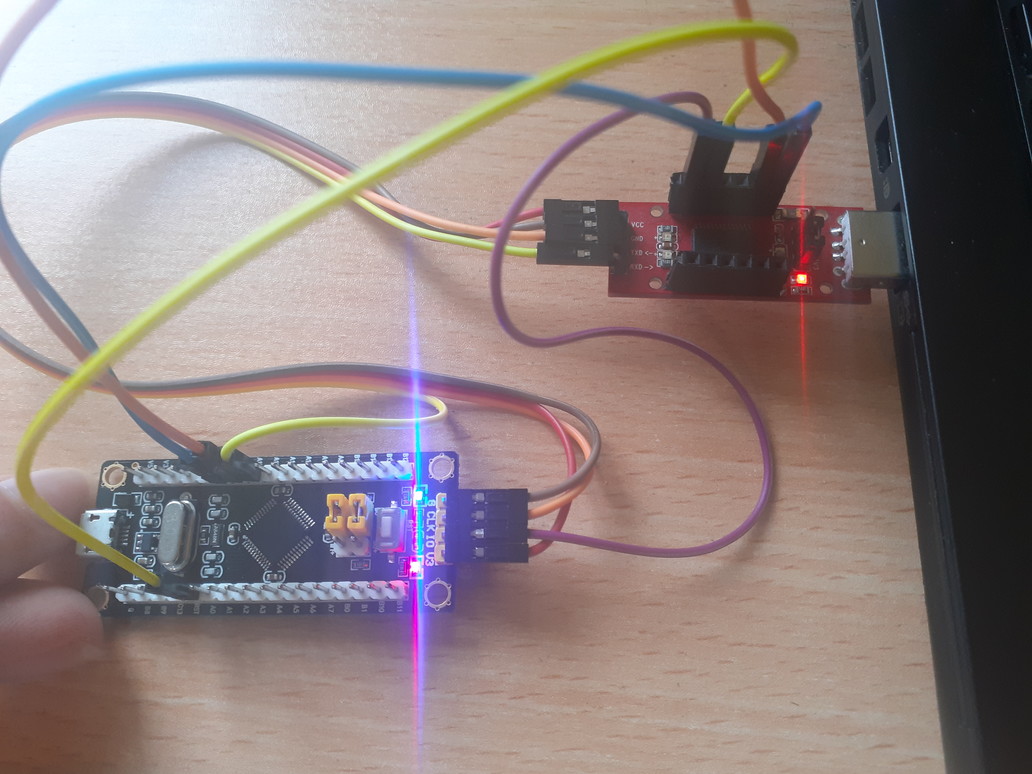
Flashing with JTAG with FT232R using OpenOCD
To build the firmware:
git clone --recursive https://github.com/blacksphere/blackmagic- checkout to the latest stable tag :
git checkout v1.7.1 - build the project for the blue/blackpill platform
| |
Note that the binaries come in two parts. One DFU (USB Device Firmware Upgrade) part and one BMP part. The DFU enables us to directly upgrade the BMP firmware by just connecting it to the host USB so no external programmer/interface (FTDI,ST-link, etc) is needed anymore after we are finished here.
- Exit all other openOCD shells. Enter these commands (utilizing the “program” script of openOCD)
4.1. flashing the dfu @ 0x0800 0000 openocd -f interface/ft232r.cfg -f board/stm32f103c8_blue_pill.cfg -c "program blackmagic_dfu.bin verify reset exit 0x08000000"
result:
| |
4.2. flashing the bmp firmware @ 0x0800 2000 openocd -f interface/ft232r.cfg -f board/stm32f103c8_blue_pill.cfg -c "program blackmagic.bin verify reset exit 0x08002000"
result:
| |
The errors are occurring after verification and reset and are due to the fact that BMP firmware re-assigns the 2 SWD pins on the side of the board for its use.
Unplug the FTDI and connections to the blackpill. Connect the blackpill to the PC USB port.
lsusbshould containID 1d50:6018 OpenMoko, Inc.sudo vim /etc/udev/rules.d/99-blackmagic.rulesfill it with:
| |
It’s done! Now we can flash/debug a target (here the bluepill) with BMP.
For example we can substitute st-flash in makefiles with the following
command:
| |
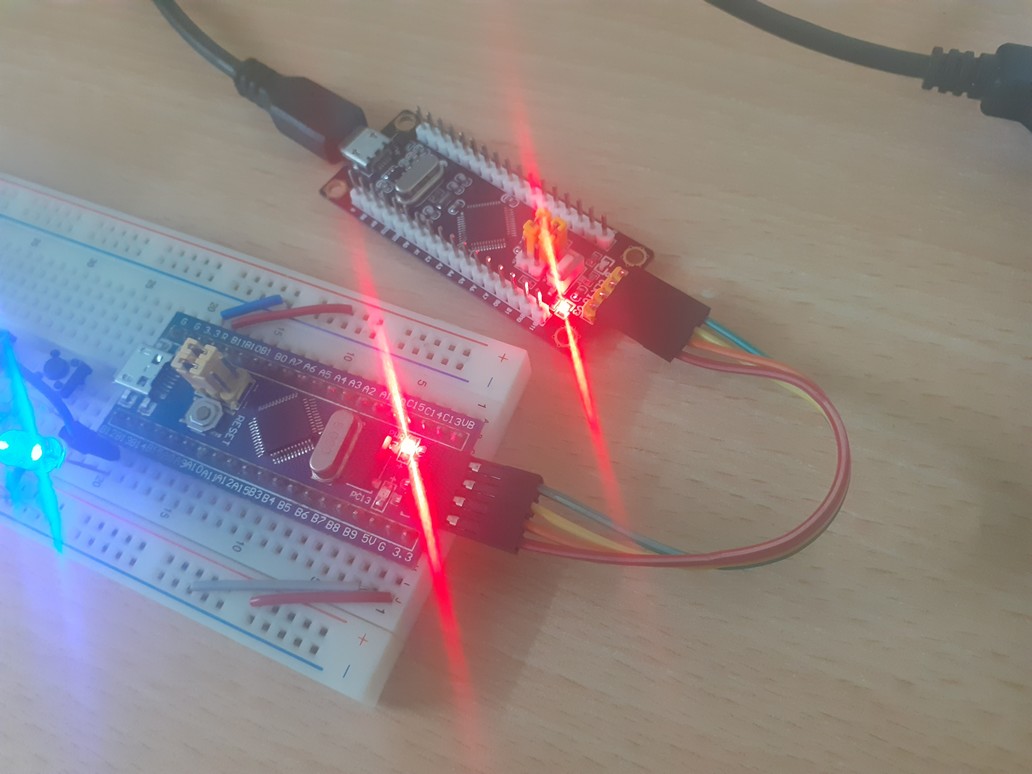
BMP flashing the bluepill
Caution: If you plan to independently power the target in anyway (like directly connecting its USB port to host), remember to disconnect the Vcc of BMP from the target.
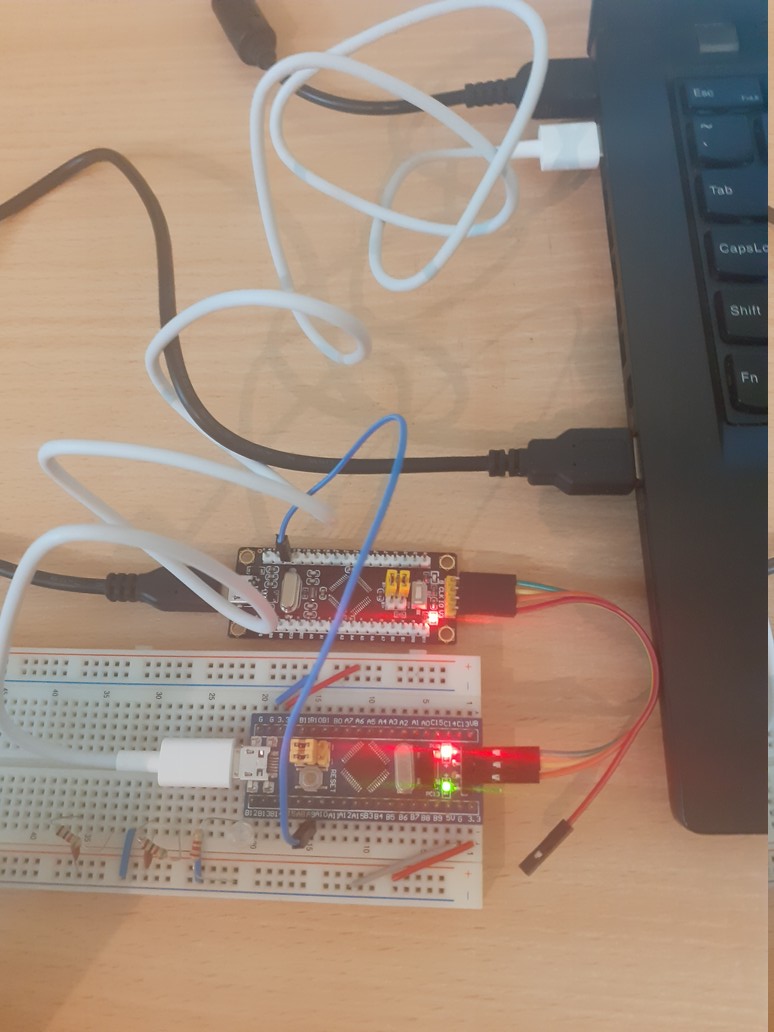
Don't power target with two sources!
Also see
https://jeelabs.org/docs/software/bmp/